So, as the first in a new occasional series suggested by my friend Liz, today I present our first Coronoveg project: DIY growing herbs that actually grow.
Ever wondered why those potted herbs you buy in the supermarket never seem to last long? It’s easy really – they’re grown so intensively, so crowded and in virtually no soil – they don’t stand a chance beyond a day or so after you get them home. Properly treated, though, they make fantastic pot-grown plants and it’s a cheap way of buying them. Basically you’re going to give them room, water and food, which is all most plants really want.
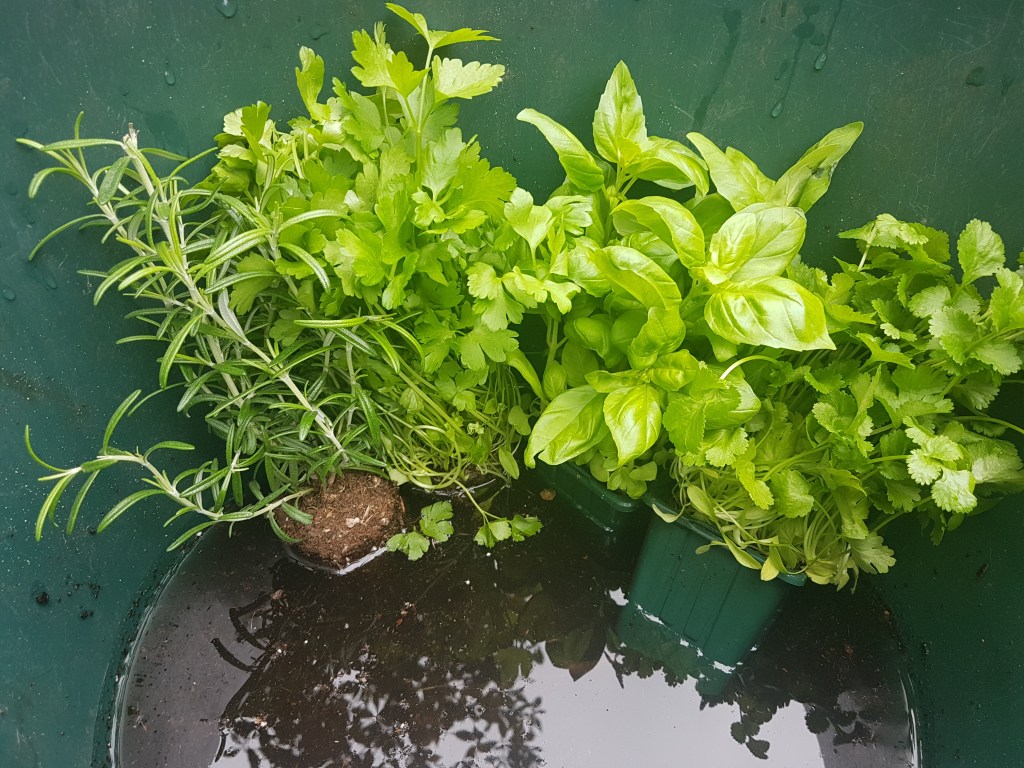
Take this little lot, purchased yesterday from two different supermarkets during my fruitless search for coffee:

Get ’em out of their slip-wraps and eeek!

The poor rosemary and flat leaf parsley don’t even have pots. Their roots are sticking out and they are all bone dry.
Soooo. You’ll need:
- Sundry supermarket ‘growing’ herbs
- more small pots than you think you could possibly need. Anything will do – yogurt pots, tins, plastic cartons – just as long as they have drainage holes.
- general compost
- Drainage tray
Right – the first thing to do AS SOON AS YOU GET HOME. Get them out of their wrappers and plunge them into a bucket of water. They’ll need to soak for a good hour or more but don’t leave them for days on end, they’ll drown.
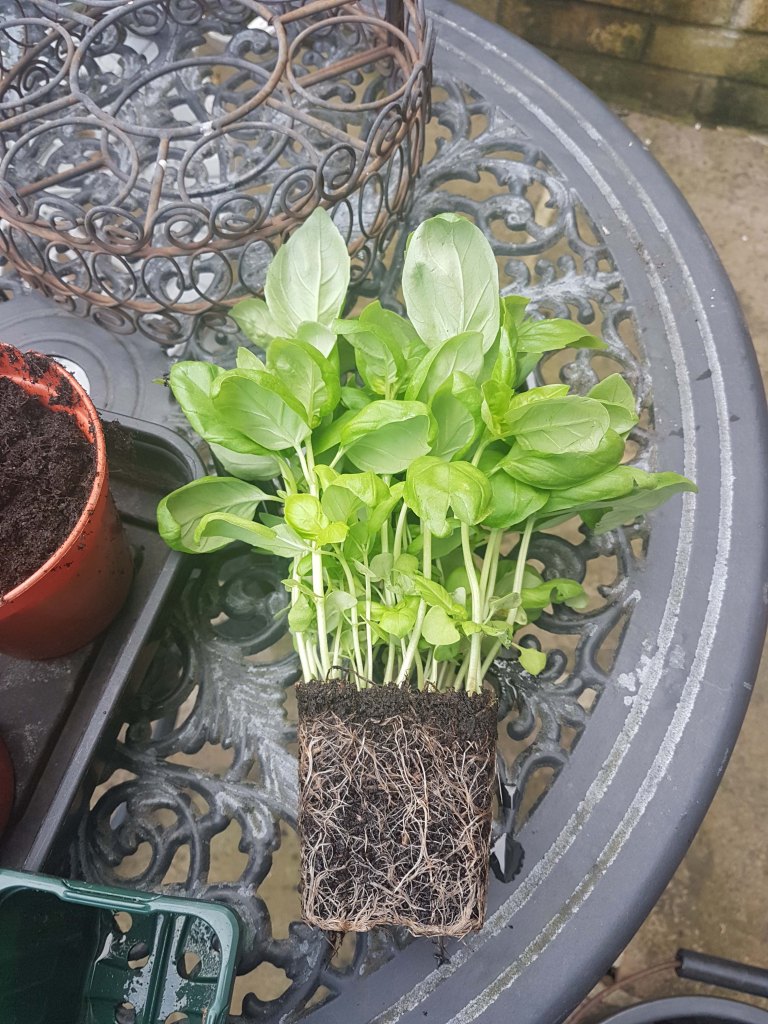
The reason why herbs like basil look so bushy is that these aren’t single plants. Each pot has about forty (no, really) seedlings, all sown together because seed is cheap, but all fighting for the same nutrients, light and water. If they stay like this they’ll die but it also means that we’ll get lots of decent plants out of one pot. They just won’t look so lavish – to start with.

While the plants are soaking, prepare some pots. For a tiny basil plant like this you will need at least ten. Smallish – three-inch is about right. Don’t make them too large as for some reason they can sense they’re ‘swimming’ in a too-large pot and don’t respond well. Fill with some compost, not up to the top, and put them into a gravel tray. Fill the tray with water, so the soil can soak it up.
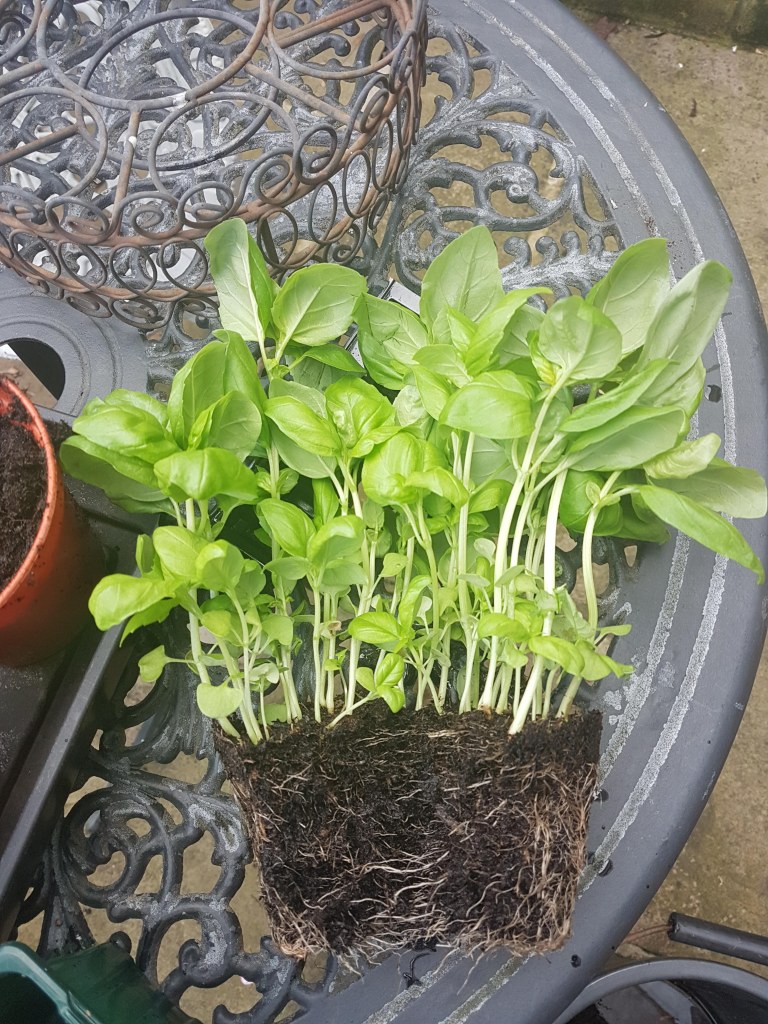
Take your soaked plant out of the bucket.
Gently, with your fingers, tease apart the wet roots into two or three little plantlets – they should part easily because they’re so wet – then place each little clump in its own prepared pot.
Firm it down, adding more compost if you feel it needs it. If you have some horticultural grit you can put some on top, it will help to keep the plant moist, but it is very much optional. Put the pots in a gravel tray with some water so they’re nice and wet. They won’t stay like this, but the soil needs to be kept damp and allowing the soil to take up water from below will give them a good start.
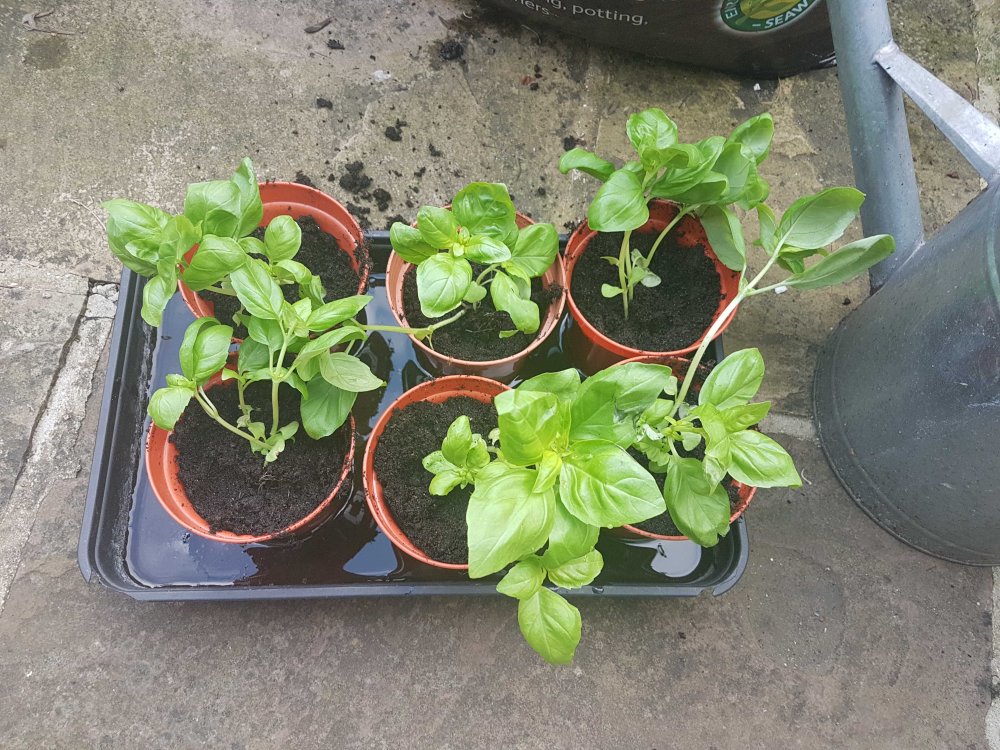
Drain out the spare water then place the trays in the brightest indoor light you have. Basil is too tender to go outdoors yet. Don’t worry if they go a bit floppy to start with; they’ve had a shock, but they will recover. If you’re feeling hungry crop off the top leaves and leave the smaller ones at the base to resprout.
Harvest by pinching out the tops of each of the plants rather than denuding one. This means they get bushy and are less likely to bolt (flower) which makes them tough. One 50p pot of basil will keep you going for months.
The flat leaf (or curly) parsley can have the same treatment – either small clumps or single stems:
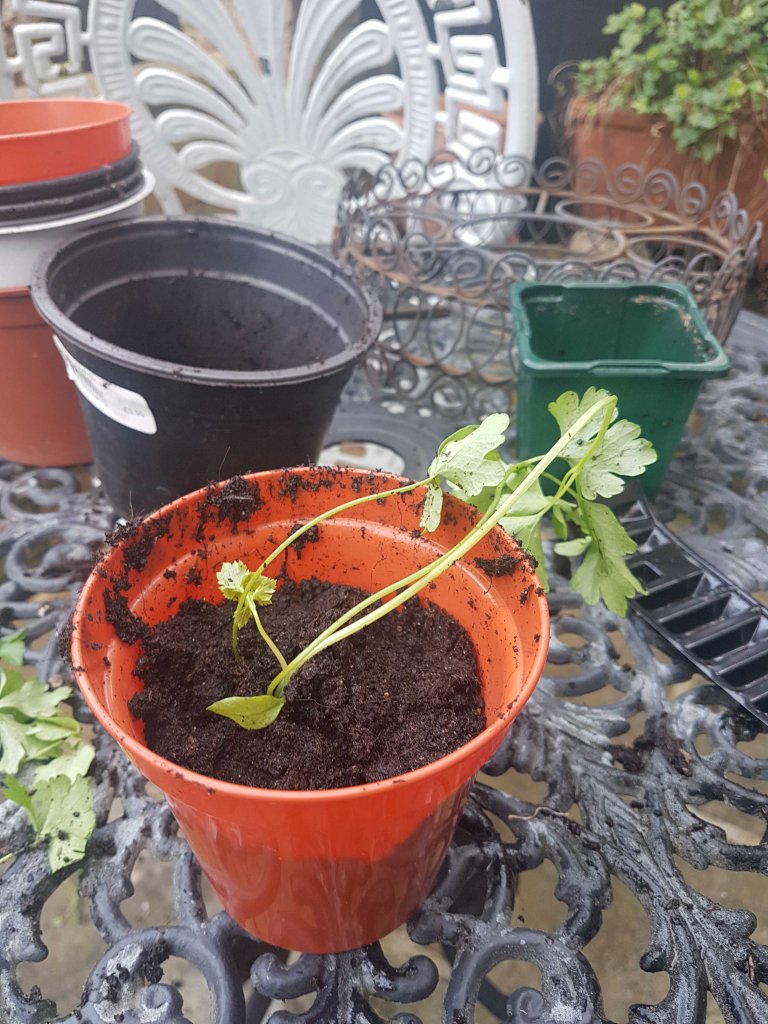
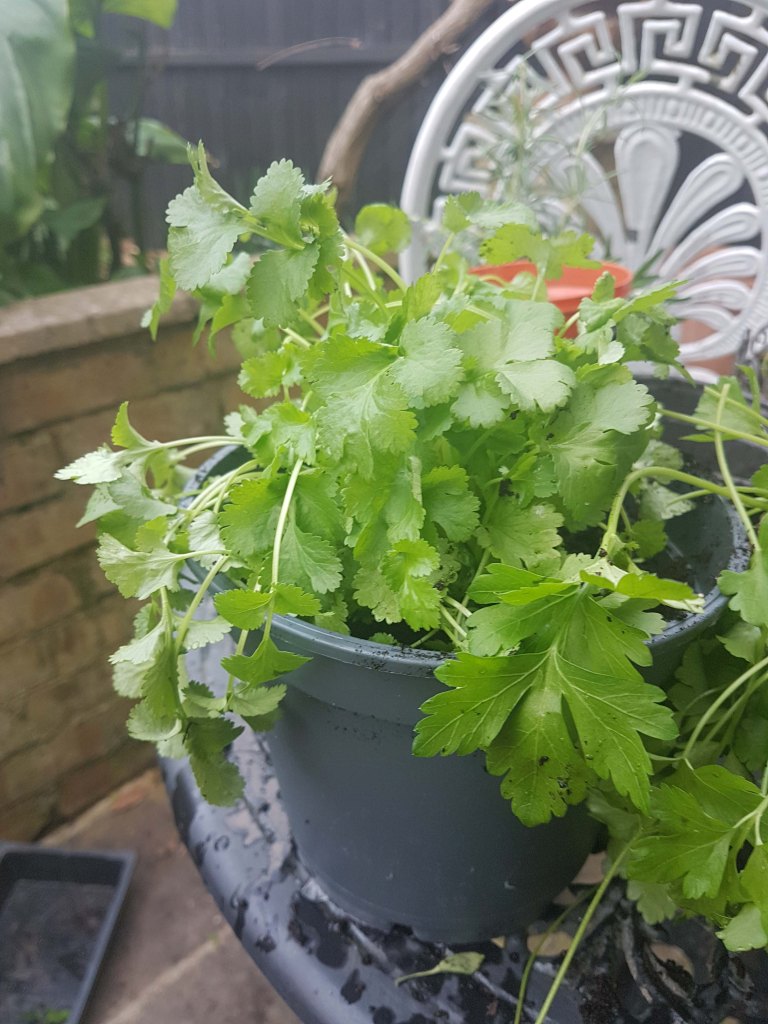
You can plant it out in the garden in April and it will keep going until the frosts. Ditto the coriander which, here, I’ve just put whole into a single, larger pot with refreshed compost for now:
The rosemary is slightly different. It’s a ‘woody’ herb which means it has tougher stems. It’s also a ‘short-lived’ perennial, which will live for a long time. We’ll talk about that at some point.

This was a single plant, so I just put it in a new pot with fresh soil. It went straight outside as it’s hardy.
Other good supermarket herbs include tarragon and chives – same treatment as the basil – and sage – same treatment as the rosemary.
Happy instant herb garden!
